
Tags
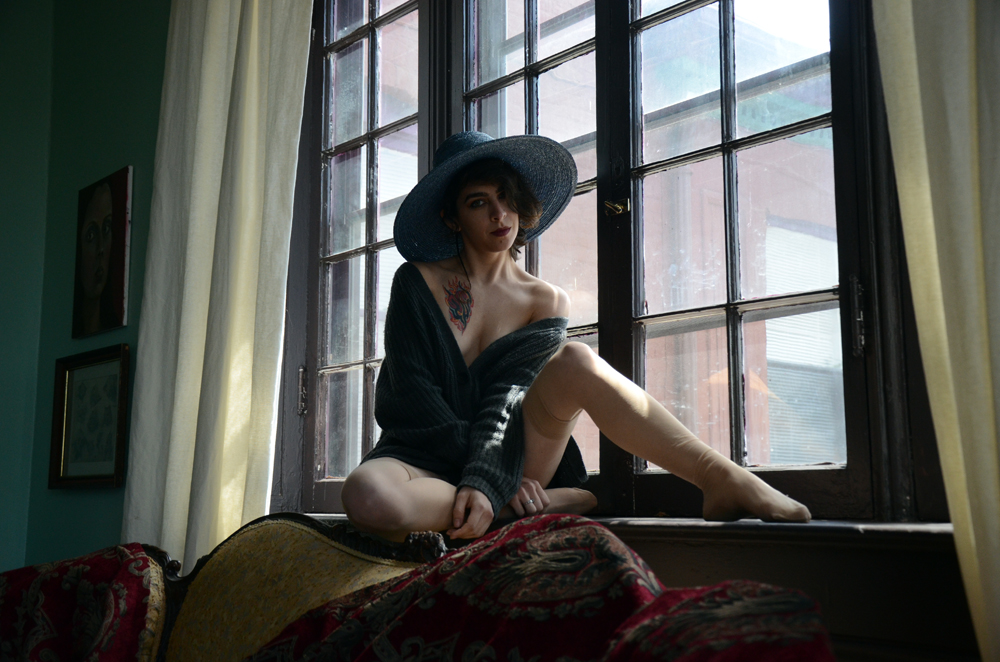
Near the end of the shoot we decided to try out a posing with a hat that we found at the location. It was a nice color and matched the cardigan that Wingless F wore when she arrived at the shoot.
We managed to do a couple of sets using the hat. We got a number of great images with the hat posing in front of the windows.
 20150520 Wingless F Set 18 Image 09
I like the image and the pose but I don’t like the view through the window. I also feel Wingless F’s face is a little too much in shadow. When I was looking at ways to improve the image I decided to try making it Black and white. I chose the channel mixer method using adjustment levels I mixed the various Red, Green and Blue channels together. While I was working on it I noticed if boosted the Blue channel I could overly brighten the view out the window. As you can see I intentionally clip the highlights to the point when I would loose the details outside the window.
 20150520 Wingless F Set 18 Image 09 – Black & White
It also meant that I would be clipping details from other already bright areas like the curtain on the left (which I didn’t mind) and Wingless F’s left leg which I did mind. So using the brush tool I removed part of the adjustment layer over the details that where being clipped. I included a saturation layer (-100) to make sure everything stayed without color.
You probably don’t notice but the corner of the room on the left is a little grainy. It was brightened a little too much. I was thinking of fixing it but I think I like it. It gives me the impression that it’s film grain and that the image was “printed” from a negative.
