
Some nights I sleep soundly and others I sleep for a few hours then get up to go pee only to find my dog has taken my space in the bed. I try to get back to sleep but my brain is already working on other stuff.
Well tonight is one of those nights. So I decided I should work on some of my images. I have eight photo shoots to go through. All ready for me to pick my favorites but I don’t quite feel ready to give my full attention to hundreds of images. So instead I chose one and decided to make something of it.
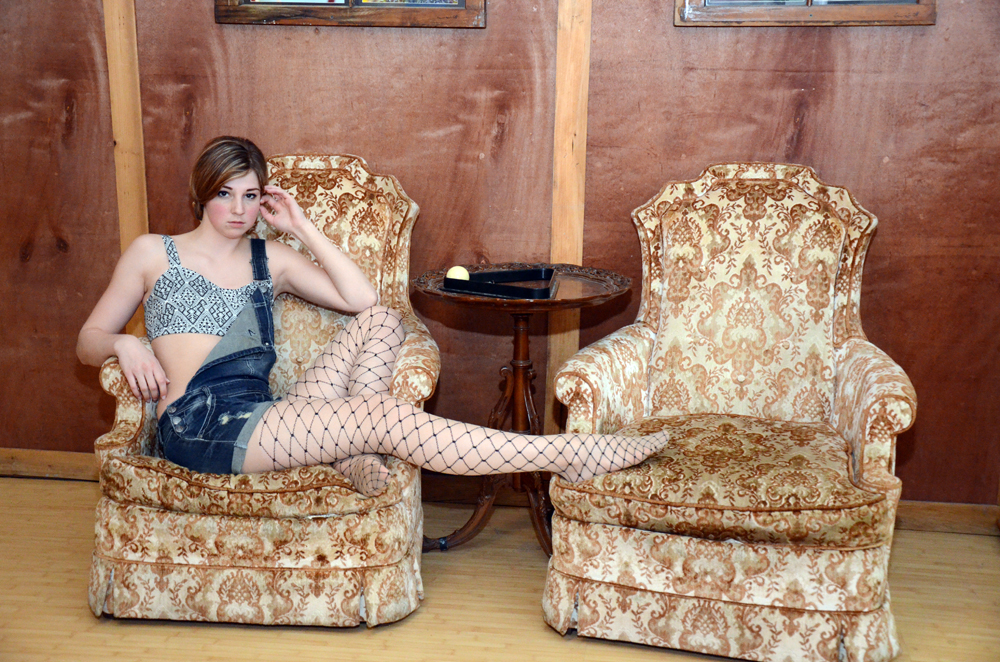 20150606 Sandra R Set 04 Image 01
I like the pose here with Sandra R’s leg spanning the two chairs. It’s like she is claiming both chairs. She is purposely not inviting you to sit down. It’s a good story in the composition (at least from my perspective).
Everything looks so bright and shiny I felt that I needed to rough it up a little or a lot.
The first thing I did create couple of adjustment layers to mess with the colors. Once I got a vintage looking color scheme I then went on to simulate physical damage to the photograph. I used a Black and white picture of metal scratches. The scratches are only there to be a template for the damaged to the image. I used the color picker to select the scratch pattern. then used it on a layer mask of the original image. I cut away the pixels in the selection effectively cutting away (masking) parts of the image. I then painted back some of the lost details using the layer mask.
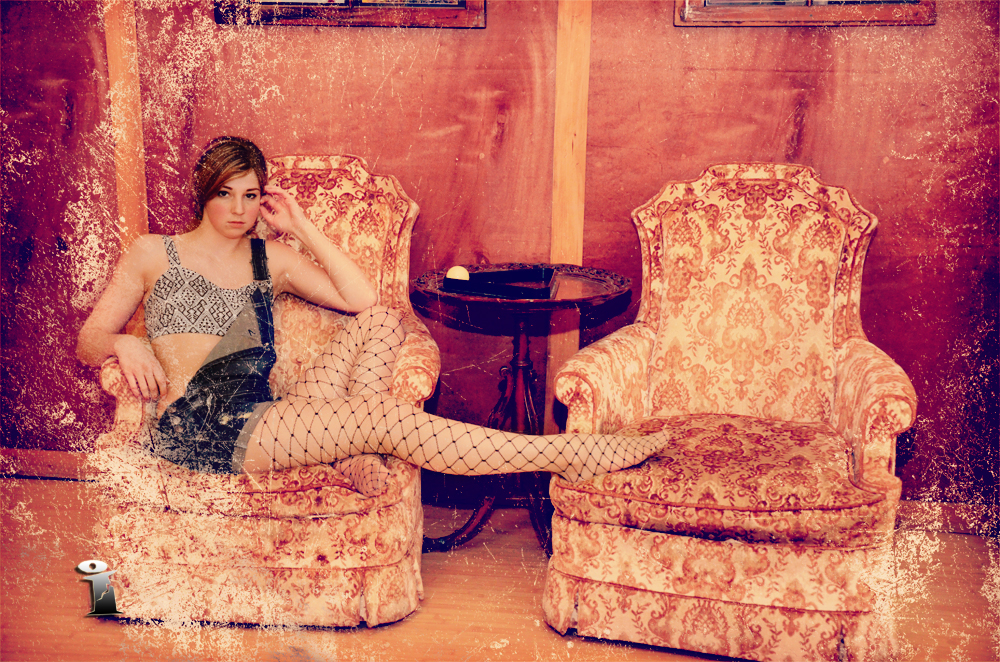 20150606 Sandra R Set 04 Image 01 – Old Pool hall
I added a crumpled paper texture under the image so that it would show through. My thoughts are that it looks like its a photograph that has lost some of the emulsion from being damp and sticking to another photograph. When you pull the damp photographs apart some times a photograph looses emulsion and some times it picks up emulsion from the other photograph.
I just realized as I’m typing this blog that I should have applied the scratch mask to the color adjustment layers. So quick Control + Click to the layer mask to select, then hop over to each adjustment layer and inverse the selection and cut.
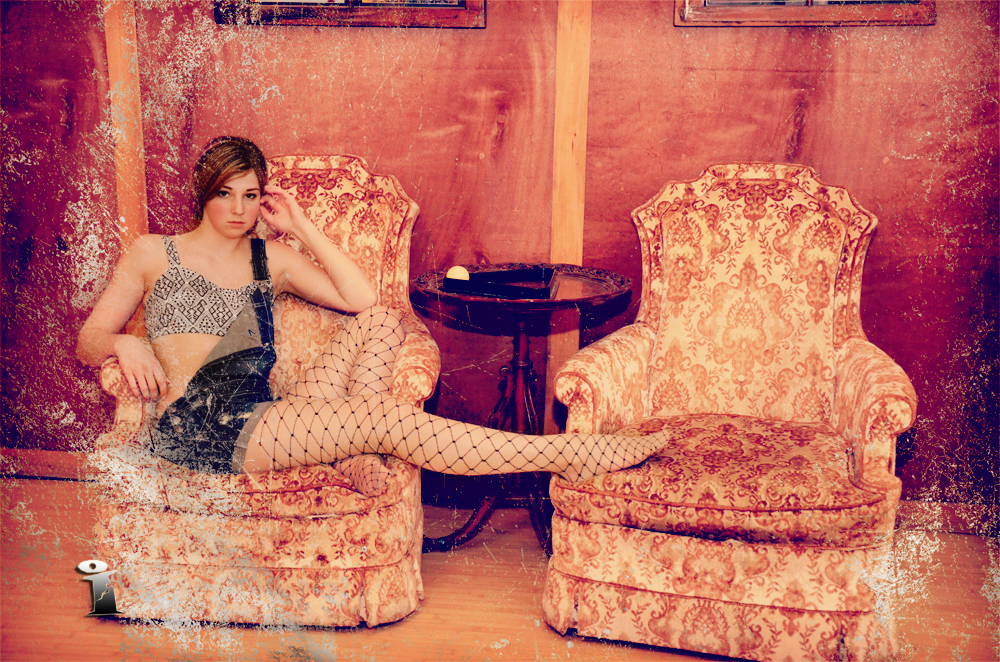 20150606 Sandra R Set 04 Image 01 – Old Pool hall (adj.)
Now it looks more like the underlying paper under the emulsion. This is why you should always work with adjustment layers and masks. Imagine if I had actually just cut and paste the original image… there would be no going back.
